As soon as you discover the Facebook Power Editor, you will be completely overwhelmed with the immensity of it’s capabilities. So I am here to give you a few quick tips on how to get started.
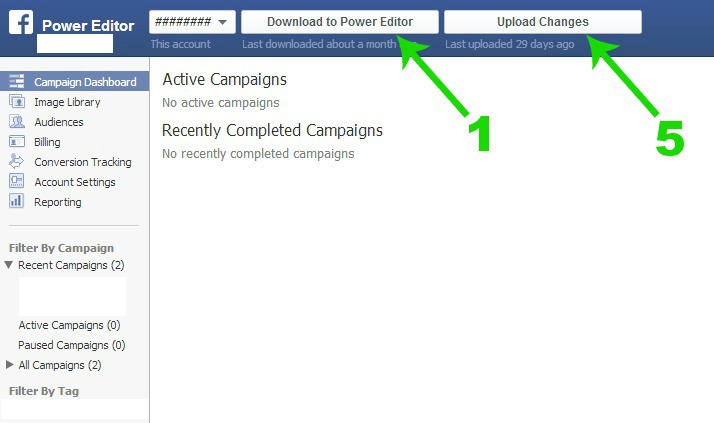
The pictures are to be used as a reference guide for the directions below.


2 ) Optional : To choose your target audience for multiple ads and/or campaigns; click on the Audiences button, Create Audience, and then Saved Target Group. Name your audience and fill out the rest of the information.
- A ) Take your time going through the Categories.
- B ) You can choose any Facebook Categories that you want.
- C ) You may only use ONE Partner Category per Saved Target Group.

3 ) Press the All Campaigns button, and fill in the campaign name and budget.
4 ) Next, press the Create Ad button. A box will appear for you to choose the proper campaign.
- A ) Design your Creative.
- B ) Press the Audience button. If you developed a target audience, click the Use Existing Targeting Group. A box will appear for you to choose your target audience.
- C ) Press the Optimization & Pricing button. Choose which option you prefer.
5 ) Lastly, press the green Upload Changes button, and you’re done!
I hope this helps you to navigate your way through the Facebook Power Editor more easily. For more helpful tips, don’t forget to press the Follow button on the bottom of our blog. Thanks! =)

Facebook | Twitter | Google+ | Instagram | LinkedIn | Pinterest